Category: Plant Care

Fertilizing Your Houseplants

Fertilizing Your Houseplants

Feeding your houseplants an organic meal on a regular basis leads to happy, healthy houseplants. Organic fertilizers are preferable, because they nourish the soil, which in turn feeds your indoor garden.

Nurture houseplant soil with healthy fertilizers

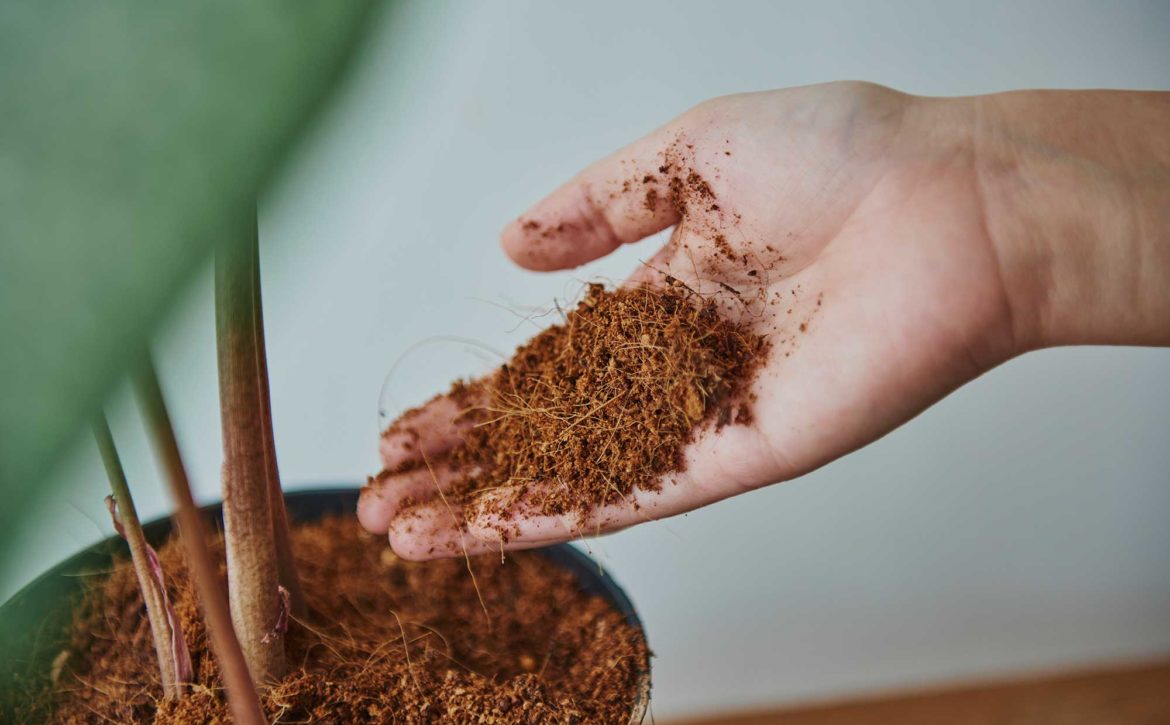
A healthy soil creates a self-sustaining environment for your houseplants. When you nurture the soil by feeding with organic materials, you encourage things to work as nature intended. Enriching the soil with healthful organic ingredients encourages naturally occurring soil organisms to flourish, which gives your plants the tools they need to thrive.

Houseplant fertilizer key nutrients

You can spot an organic fertilizer by the N-P-K ratio, which is listed on most fertilizers. These numbers indicate the analysis of certain major nutrients required by plants, which are nitrogen, phosphorus and potassium. Nitrogen is instrumental in chlorophyll production and stimulates leaf growth and greening. Phosphorus promotes sturdy cell structure, root growth and fruit and flower production, and potassium is responsible for photosynthesis, water and nutrient management and strengthening plants against pests and diseases.

Look for a fertilizer with a low N-P-K, such as a 5-5-5, 10-10-10 or 10-15-15. Fertilizers with numbers like 30-50-50 or 50-50-50 are usually chemical in nature and should be avoided.

   Green gourmet houseplant food

Good houseplant fertilizer ingredients

Nutrient-rich organic fertilizers contain a number of healthful ingredients that promote natural growth. Look for fertilizers with alfalfa meal, which contains nitrogen and the natural growth stimulant triacontanol; bloodmeal, which is a rich source of nitrogen; guano, which contains nitrogen, phosphorus, potassium and calcium, and kelp meal, which has a variety of trace minerals, as well as potash and amino acids and vitamins. Epsom salt is another good ingredient, as it provides magnesium and sulfur. Mycorrhizae are an additional helpful fertilizer amendment. These are naturally occurring microscopic fungi that encourage root development and stronger, healthier plants.

When to fertilize your houseplants

Signs that your houseplants need feeding include yellow leaves, less new growth and smaller than usual growth when you get it. Prevent your houseplants from becoming nutrient-deficient by fertilizing once a month from March – October.

How to fertilize your houseplants

Feed your houseplants with a liquid or granular fertilizer. If using a granular fertilizer, take a pencil or object smaller in diameter and make puncture marks in the soil every 2 to 3 inches, about 3 to 4 inches deep. Sprinkle the granular fertilizer in the holes and backfill with soil. Water well. Besides using them to feed plants through the soil, liquid fertilizers can also be used to create a foliar food that can be sprayed on houseplant leaves. Foliar feeding is fast-acting and especially useful when the plants are experiencing a nutrient deficiency.

Basic Houseplant Types

Houseplant Types to Include in Every Indoor Garden

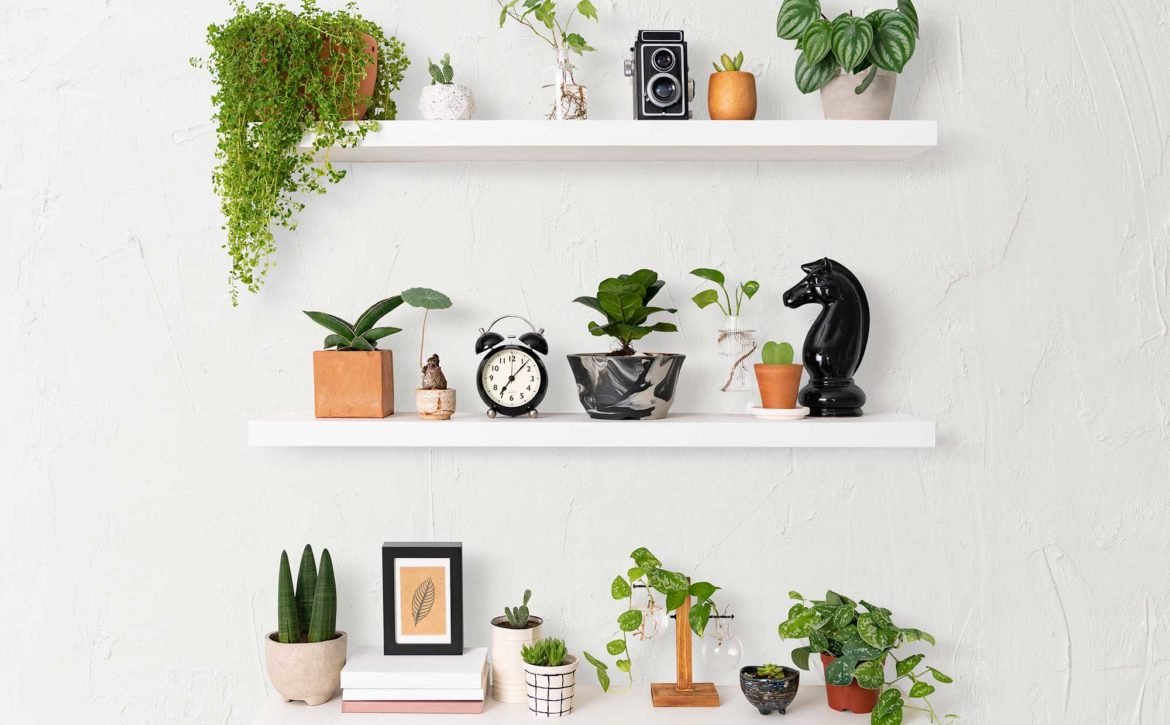
An eye-catching indoor garden is diverse. Besides foliage plants, add a vertical element with trailers and climbers and tall and large specimens, and put the finishing touches on your house plant showcase with flowering beauties.

Foliage Plants

These plants comprise the backbone of the indoor garden. While they come in a huge variety of green tones–from pale to nearly black–many flaunt foliage in bright colors like red, yellow, and orange. Such head-turners often have variegated leaves.

Vines and Climbers

By growing plants that cascade and creep, you invite the eye up, creating interest and a feeling of being surrounded by greenery. Hanging also enables some plants to grow as nature intended. House plants like wandering Jew and spider plant grow their best when they take to the air.

Large and Tall Plants

Big plants are a great way to add height and sheer presence to a room. While smaller plants act as accessories, large plants enliven a space and make a statement. Some easy-to-grow large floor favorites include the corn plant and other dracaenas, schefflera, fiddle-leaf fig, rubber tree and many palms.

Flowering Houseplants

Keep Flowering Beauties Blooming They may seem difficult to grow indoors, but given the right lighting conditions and nutrient-rich organic food, many flowering plants can be kept in bloom with very little effort.

Lighting Basics

Proper Lighting Secret to Robust Houseplants

 We’ve all tried to grow houseplants in less than ideal lighting conditions. At first the plant looks great and we pat ourselves on the back. Inevitably, though, your indoor plant starts to lose leaves and look sickly. And if the houseplant is really starved for light, it will die.

Proper lighting critical to indoor plant health

Nurseries might go out of business if indoor gardeners only knew how important proper lighting is to houseplants. Unlike humans and animals, plants produce most of their own food. Light triggers and energizes the process of photosynthesis, a procedure that makes the carbohydrates that fuel plants. Without sufficient light, plants can’t photosynthesize and instead use stored food to maintain growth. As the plant wears down its energy reserves it cannibalizes itself, eventually starving to death.

While some plants die when lighting is poor, others get just enough light to live a feeble existence. You’ve probably had them in your home. They’re the sickly ones with poor growth, sparse foliage, no flowers and pest and disease problems.

Use full-spectrum lighting for your indoor garden

Good news! There’s an easy and inexpensive way to replicate natural sunlight indoors—full spectrum lightingUsed for years to treat Seasonal Affective Disorder, (SAD) full spectrum lights simulate the sun at noon, and plants love it.  Manufacturers even produce inexpensive screw-in full-spectrum light bulbs like these, so all you have to do is replace the light bulbs in nearby light fixtures, and voila!—you’ve got happy plants basking in the next-best-thing to sunlight.

Don’t want to bother with lighting indoor plants?

Try low-light plants like Arrowhead Vine; Cast-Iron Plant, Chinese Evergreen, Dracaenas, Peace Lily, Pothos, Philodendron, Radiator Plant, and Snake Plant.

While your eyes can give you an indication of how bright or dim your home is, you can accurately check light levels with a light meter. Find these handy tools on Amazon.


Potting Up

Repotting Your Indoor Garden Could Stimulate New Growth

You may get limited new growth if your indoor plants have sat in the same pots for several years. Houseplants eventually become root-bound, requiring new soil and a larger container. Spring and fall are the ideal times to give them a new home.


Signs You Need to Repot Your Houseplants

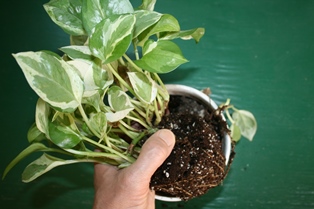
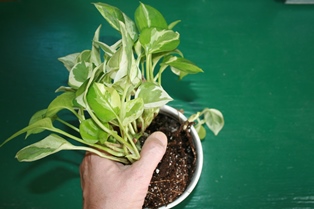
Roots emerging from the bottom of the pot, sluggish growth and water rushing through the soil when it’s watered are all signs that a plant needs repotting. If you are unsure if it’s time to repot, remove the plant from the container and inspect the roots. A bulky mass of tangled roots means it’s time to repot. Roots coming out of the drainage holes are another sign.Though it may seem like a good idea to give your houseplant plenty of room for growth by choosing a pot that is several sizes larger, doing so can be counterproductive. Excess soil around plant roots becomes waterlogged, promoting fungal disease, which can lead to root rot and plant death. In most cases, it is best to choose a container that is just one size larger. For instance, if your plant is in a 10-inch pot, then move up to a 12-inch container. 


Repotting houseplant-3a


Steps for Repotting Your Houseplants:


1. Help prevent transplant shock by watering at least two hours before repotting.

2. Protect floor surfaces in the home by putting plastic or metal screening inside the new pot over the drainage holes before adding soil. Prevent leaching in clay pots by treating them with a sealer.

3. Carefully remove the plant from the old container by laying it on its side and pulling it out. If it does not come out easily, hold the plant stem and soil surface steady with one hand and invert the pot with the other, tapping the pot rim against the edge of a hard surface. If the plant still refuses to budge, run a sharp knife around the inner rim of the pot and then try removing it. In stubborn situations, cut or break the pot.

4. Before planting, carefully loosen roots, unwinding any that have been encircling the inside of the old pot. If the root mass is thick, trim it by 10 to 20 percent. This will stimulate the roots to venture into new soil. If you want your houseplant to remain the same size, rather than growing larger, trim plant roots by 1 inch all the way around. Then put new soil in the same container and replant. 


Repotting houseplant-1a


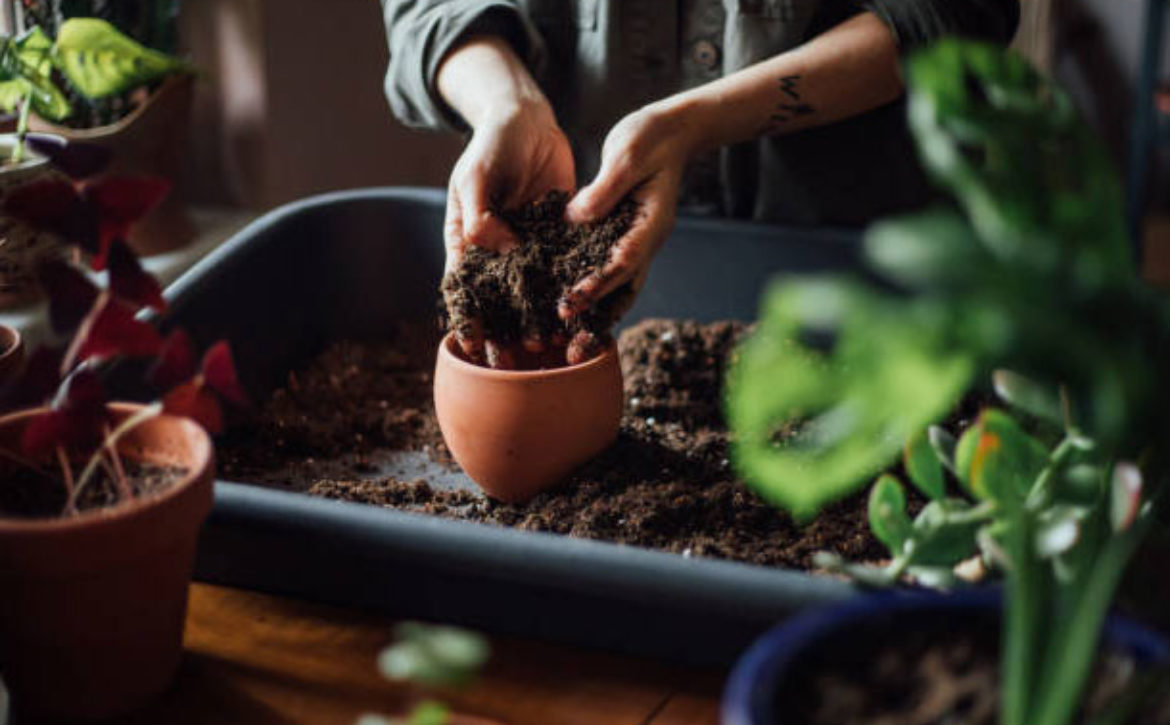
5. To plant, place enough soil in the bottom of the new pot so that when you set the plant inside, the soil line falls 1/2 to 1 inch below the pot rim. Fill the pot with potting soil, tapping the entire pot two or three times as you fill it. Pat down the surface of the soil when done. Also make sure that the plant is potted at the same level as it was in its original container. Generally, you want to just cover the root-ball with soil and leave the stem completely exposed.

6. Water the plant well and don’t water again until the top 1 to 2 inches is dry. Overwatering after repotting can quickly lead to fungal disease and root rot. If the soil is still wet but the plant shows signs of wilting, mist the foliage with water; the plant will absorb the moisture through its leaves. Most plants use less water when they are newly transplanted, so don’t be surprised if your plant doesn’t need a drink for some time.

7. Wait at least one month before fertilizing a transplant. Feed only when the plant has resumed new growth.

Potting Soils

It’s Wise to Get the Dirt on Potting Soil Mixes

Houseplants need a good place to set down roots. A healthy soil that fits each plant is the key to a lush indoor garden. Most houseplants grow best in rich, well-drained soil. The mix should be porous for root aeration and drainage, and able to retain moisture and nutrients. Many blends contain perlite or pumice as a draining agent and peat moss to hold moisture and soil fertility.

Potting soil formulations vary. It is best to read the package contents so that you can choose a high-quality soil that fits your plants’ needs. For optimum growth, some houseplants require specific ingredients in their soil.

As you become more experienced at indoor gardening, you may wish to try mixing your own soil. For an all-purpose basic mix, start with a high-quality potting soil base and add other beneficial ingredients, such as perlite or pumice for drainage and vermicompost (worm castings) for soil fertility. 

Here are some specific soil mixes:

African violets and other flowering houseplants: Blooming plants generally thrive in a mix containing organic water-holding materials like peat moss and compost. Mixes with these ingredients tend to keep flowers and buds constantly moist, which prevents bud drop. Make your own by blending 1 part peat moss, 1 part vermiculite, 2 parts perlite, 1 part worm compost and a small amount of horticultural charcoal.

Cacti and succulents: As desert plants, cacti and succulents require a much different mix than your average houseplant. Cacti planted in your standard mix — even one with good drainage — will probably rot. With a cactus mix, your goal is to mimic the same conditions you find in the desert, which means very fast drainage and high alkalinity. You can get a prepackaged cactus mix, or mix your own, which should include 2 parts worm castings or regular compost, 1 part coarse, horticultural sand and 1 part calcined clay or 1/4-inch lava pebbles, which will provide especially sharp drainage. In 4 quarts of this mix, add 2 tablespoons dolomitic lime (to create alkaline conditions) and 1/3 cup charcoal, which will sweeten the soil and reduce odor.

Orchids: Because they are epiphytic, naturally growing on other plants for support with their roots exposed to the air rather than in soil, orchids should be grown in orchid bark instead of traditional potting soil. Such mixes are composed of a coarse blend of bark chips — often fir and pine.

When to Repot: Most houseplants do best in soil that is slightly acidic. Soil mixes generally start out on the acid side, but are likely to become alkaline over time, especially if your water is alkaline. Fertilizers can also cause soil alkalinity. If a plant’s growth becomes stunted and weak and it has been some time since you’ve repotted, it’s probably a good idea to do so.

Providing Humidity

Providing Humidity for Your Houseplants

Do you have houseplants that seem to curl up and wither away, or have problems with brown-leaf tips? If your indoor garden is ailing despite your best efforts, suspect an inappropriate humidity level.

Many houseplants originally came from jungles where the air is heavy with humidity. Most homes don’t replicate those conditions. Although many of these tropical descendants will survive in our parched indoor air, most do much better with a little extra moisture. A few need additional humidity to survive, such as anthurium, orchids, fittonia, many palms, African violet, ferns, philodendrons and spathiphyllum.

Houseplants suffer quickly from dry indoor air

Plants object quickly to low atmospheric humidity. At first, the leaves will yellow, or the edges or tips will brown. Leaf curling is another sign. Eventually, you’ll have a dramatic leaf drop, and the plant will finally collapse. Even if the overall humidity is OK, if a plant is sitting in the range of a heater or air-conditioning duct, it will suffer.
In general, houseplants require at least 45 percent humidity, and most homes don’t provide high enough levels. The humidity of your home depends on a variety of factors, such as where you live. Inland homes tend to be drier than those along the coast and near the bay. Heating and air conditioning also lower humidity. 


Humidity Tray-HealthyHouseplants.com                                                    

(Healthy Houseplants.com)


Test the humidity in your indoor air with a hygrometer

You can test the humidity level of your home with a hygrometer (also called a humidistat or humidity meter), an instrument that measures moisture in the air. They can be found at some nurseries, hardware stores and through mail order. Get a good overall reading by testing the air in the room and then check the air right near the plant.

Providing humidity for indoor plants

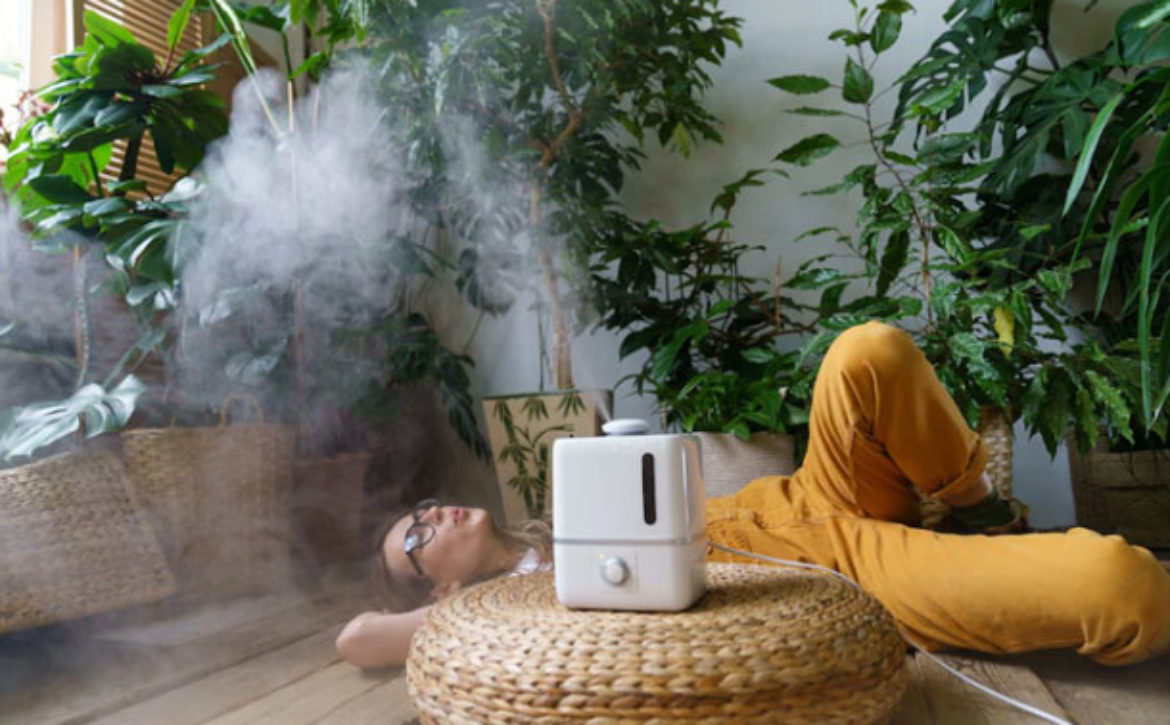
There are ways to raise the humidity level of your home so that your plants are healthier and happier. The following methods can be used on their own or collectively, depending on the amount of humidity you’re trying to create. They will help you grow healthy houseplants.

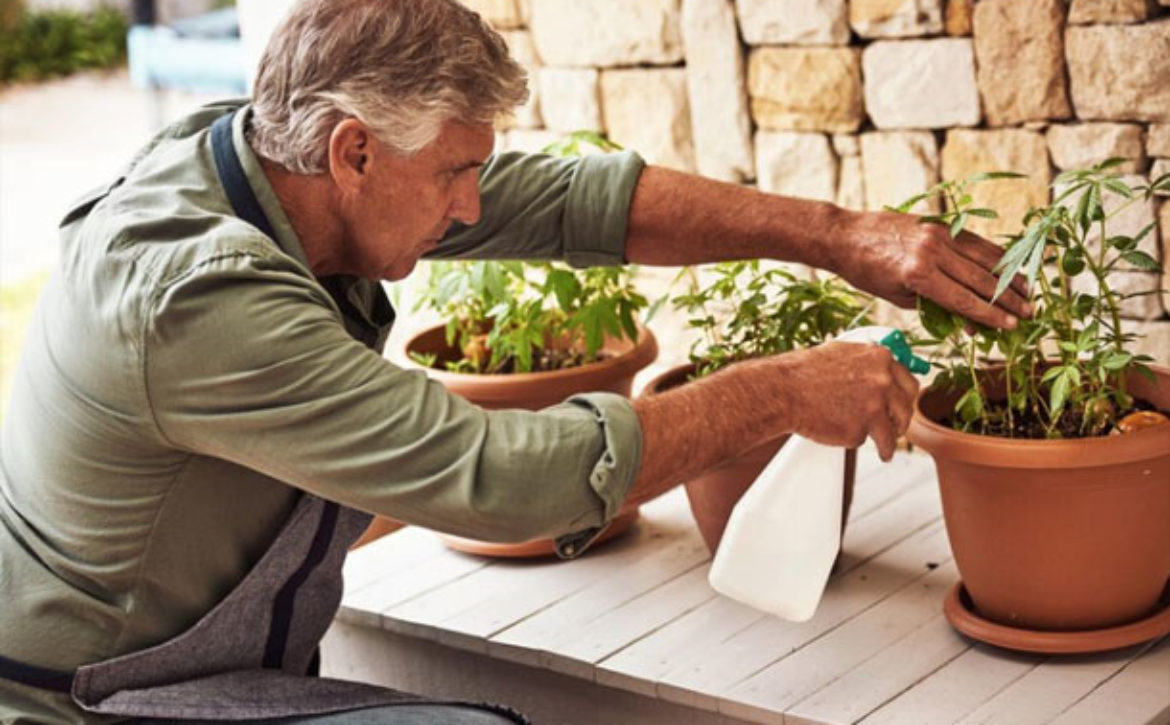
  • Mist: Although opinions vary on this topic, I’ve found that most houseplants — except for fuzzy-leafed ones such as African violets — like regular misting. Not only does misting create a humid atmosphere, it lightly washes foliage, which discourages pests such as spider mites. Using tepid or room-temperature water (filtered or bottled is best), mist in the morning so plants have time to dry out before night. Misting should create a fine fog of moisture that surrounds and covers each plant. Leaves should look as if a light dew has settled on them. Some plants want daily misting; others are OK with two to three times a week.
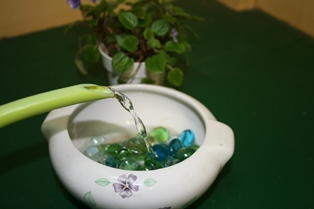
  • Humidity tray: Placing plants above water also provides them with moisture. Fill a waterproof plate or bowl with polished stones, pebbles or marbles. Use a tray or bowl made of metal, plastic, glass or glazed ceramic and not clay, which can “sweat” and damage surfaces. Add water to the container, stopping when the water level is just below the surface of the stones, pebbles or marbles. Place the plant on top of this, making sure that no water touches the bottom of the pot, as this can lead to root rot. Humidity created in the water below will rise to the plant.
  • Group plants: When grouped, plants create a more humid environment for one another. Water evaporates from plant leaves during transpiration, which is the process by which plants cool off. This water vapor creates humidity around each transpiring plant. The more plants you put together, the more humidity they create for one another.

    Try low-humidity lovers

    If providing your plants with moisture seems like too much work, or you’re concerned about the humidity level in your home, try houseplants that like it dry. Plants that get by without extra moisture include succulents, such as kalanchoe and sansevieria, cactus, Dracaena marginata, fiddle leaf fig (Ficus lyrata), yucca, pothos, ponytail plant (Beaucarnea recurvata), cissus, peperomia, cast-iron plant, yucca, hoya and spider plant.

Proper Watering

How to Water Your Houseplants

Though pests and diseases seem likely culprits, the truth is: Improper watering is the reason why most plants don’t make it. Damage from incorrect watering is common and runs the gamut — from wilting and collapse to drowning. Plants that survive despite watering mishaps often fail to thrive. 

Results of overwatering houseplants

How plants fare when faced with incorrect watering varies from utter collapse at the first sign of drought to an eventual weak growth pattern if the abuse continues. Generally, thin-leaved plants are quicker to show symptoms of water damage. Thicker-leaved plants, like succulents, can go longer between waterings.

When to water houseplants

When to water your plants will vary according to a variety of factors. Every home environment is different, and plant watering needs differ by species. There are, however, some guidelines to keep in mind.

Know your plant’s watering requirements. Research your plant and see how much water it needs. Some plants, such as African violets, like to be kept moist, while others, like cactus, prefer drying out between waterings. Most plants like to be watered when they’re just approaching dryness.

Pay close attention and you will learn to recognize the signals that each of your plants gives when it needs watering. For instance, many plants “flag” when they’re thirsty, getting a dull sheen to their leaves and wilting slightly.

Consider containers and soil mixtures. Smaller containers will dry out more readily than larger ones. Plastic pots stay moist much longer than porous terra cotta. Heavy soil mixes hold more water than light mixes or bark.

Check drainage. It is imperative that water doesn’t accumulate at the bottom of the pot because your plant is likely to drown or develop fungal problems that will lead to root rot. Water should readily flow through the pot.

Water according to plant needs. Putting your plants on a watering schedule may seem like a good idea, but it’s best if you water only when they actually need it.

Always check a plant before watering, even if it is wilting, as droopy leaves are also an indication of overwatering. If the soil is moist, withhold water. There are three methods of checking a plant for watering readiness. Stick your finger in the soil up to your first knuckle. Water if the soil is dry. You can also use a moisture meter — a pronged instrument you stick in the soil that indicates when a plant needs watering. The “pick-up” test can also be a good indicator

Elevate the plant pot, if possible. A lightweight container often means it’s time to water. Pay special attention to large containers, as the top of the pot may be dry, while the bottom is very wet, or vice versa.

Consider time of year when watering your indoor garden

Plants dry out more quickly during spring and summer months, whereas water consumption slows considerably during cooler times of the year. Heating and air-conditioning systems can also dry plants. Plants close to vents are likely to dry out quickly.

How to water houseplants properly

Most plants do best if watered from above. When possible, bring the plant to the sink and let the water run through the pot until the container is heavy with moisture. If a plant has been allowed to dry out too much, this may mean running water through it at a slow pace several times before the soil becomes saturated.

Exceptions to the above watering method for indoor plants

African violets, the piggyback plant and other plants with soft, fuzzy leaves are an exception to the top watering rule. Water them from below to avoid foliage water spots, fungal disease and crown rot. This method should also be used to rehydrate plants that have become very dry and whose soil has shrunk away from the sides of the pot. To bottom water, set the pot in a container of water that is slightly bigger. Water will be drawn into the dry soil.

Avoid leaving houseplants sitting in water

Avoid leaving plants in water. Houseplants should not sit in water more than 30 minutes. Use a turkey baster or an old sponge to remove water from saucers of large floor plants. Setting large floor plants on a saucer filled with pebbles or marbles is helpful, as it keeps water from contacting the bottom of the pot and humidifies the surrounding air.

Water temperature for houseplants

Use tepid to warm water. Studies have shown that cold water causes root damage and leaf spotting.

Pruning

A Little Pruning will Whittle Away Houseplant Woes

In time, many houseplants will outgrow their space or become straggly and unbalanced.

Pruning and pinching creates a healthy, attractive indoor garden, encourages new growth and corrects structural problems. Done early enough, it will keep a plant the right size and shape for its space. Light trimming and reshaping can be done any time of the year, but more heavy pruning should be done during fall or spring.

Although not all houseplants need pruning, most will benefit from some attention, even if it’s simply removing dead leaves or diseased or damaged stems. Groomed plants are less likely to get pests and diseases. Cut judiciously. A good pruning job is barely noticeable. Keep in mind that it takes a long time for a major stem to be replaced, so when in doubt, don’t cut.

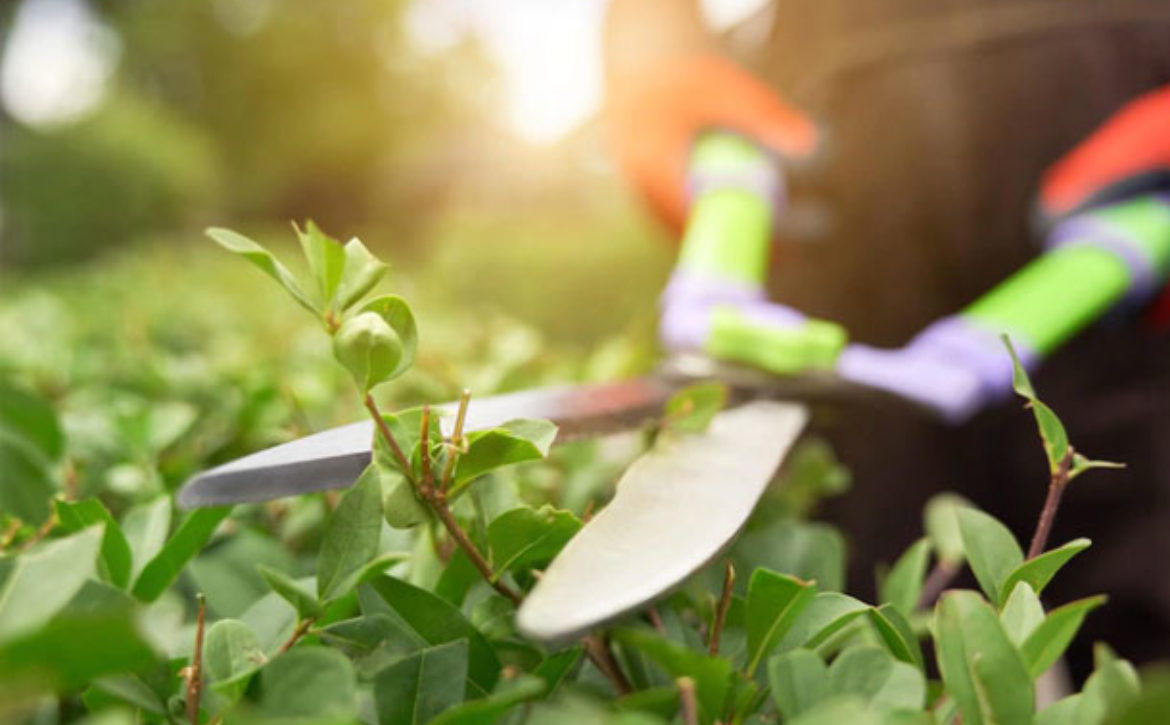
Pruning tools: Use high-quality bypass pruners or very sharp scissors. Dull pruners will crush or tear stems, leaving the plant vulnerable to disease. Poor pruning may also inhibit regrowth.

Kind cuts: Large, woody plants, like Norfolk Island pine and Ficus benjamina, tend to require pruning. When unsure about a particular plant, consult a houseplant encyclopedia. To shape a woody plant, proceed slowly and step back periodically to view your handiwork. Check that you are pruning it according to the natural growth habit of the plant. Shorten leggy stems or branches that have grown awry. Always make clean cuts above a node, which is where a branch or leaf is or was attached.

There are dormant buds at each node. This is where the new growth will appear. If you must remove large stems, cut as close as possible to the main stem or all the way to the base.

Pinching back: Many smaller houseplants are herbaceous, which means they have soft stems. Such plants require some form of pinching back to keep them dense and shapely. Vining plants such as pothos produce trailing stems that can become lanky and leggy, with long gaps between leaves. When you shorten such stems by pinching off the growing tips, this stimulates latent side buds in the leaf nodes into bushy growth.

Generally, your thumb and forefinger make good pinchers because most new growth is tender. If not, use pruners or sharp scissors. Always pinch just above a leaf node. Some plants require regular pinching, while others need it only once or twice a year. Use care when pruning plants that flower so that you don’t cut off any buds. Get to know the flowering cycle of your plant before doing any pinching.

Plants that do best with regular pinching include polka dot plant (hypoestes), iresine, vining philodendron (Philodendron scandens), pothos, coleus, grape ivy (cissus), tradescantia, abutilon, inch plant (callisia), creeping Jennie (lysimachia), Swedish ivy (plectranthus) and arrowhead plant (syngonium). Some flowering plants that require pinching or pruning are lipstick plant (aeschynanthus), which should be pruned back to about one-third after flowering.

To encourage reflowering in columnea, cut back older branches by one-third to one-half in spring. Other plants that may need pruning if they get too large include dieffenbachia, which should be cut back if it becomes leggy, and some of the tall-growing draceanas. When shortening a dracaena, cut the cane at an angle so that no water will settle on the stump and cause rotting. Depending on the size of the cane you cut down, one to three or four side shoots will come up and begin growing, making it a shorter, bushier plant.

Propagating

Save Money by Propagating Your Own Houseplants

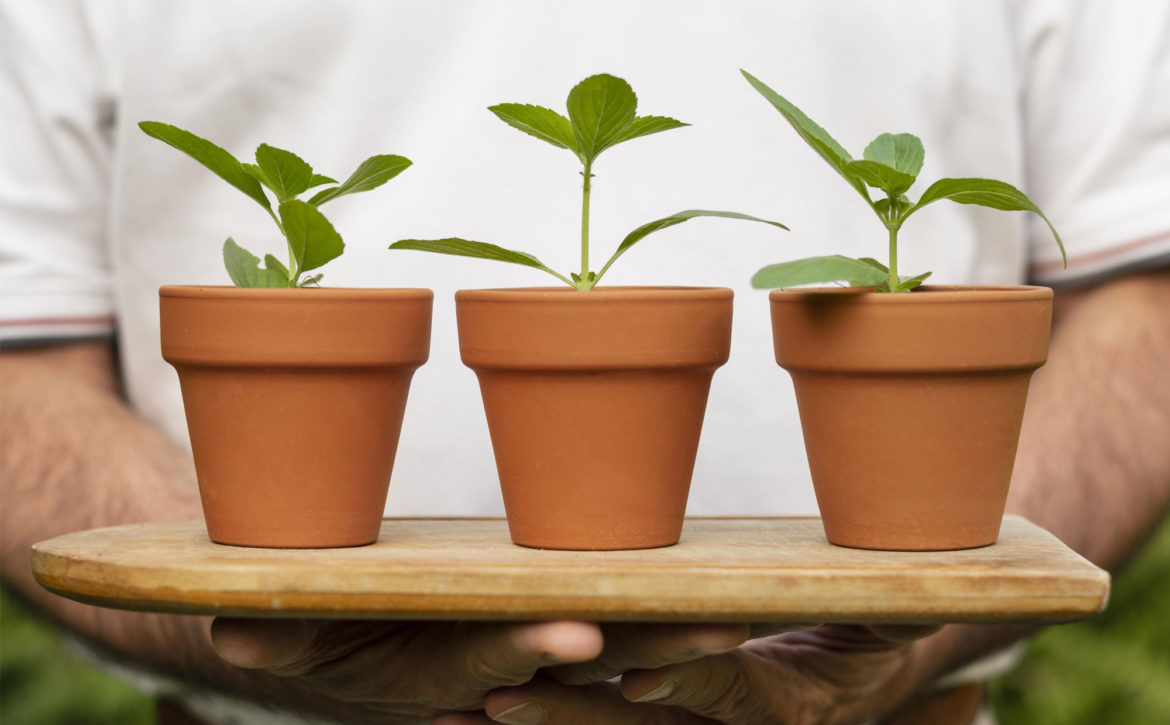
Propagating, starting new plants from old ones, is easy and fun with houseplants. It’s the best way to create fresh plants from hard-to-find old favorites and is an inexpensive way to increase your indoor plant collection.

Most houseplants are easy to propagate, which is why they’re popular in the first place. Some plants even invite you to make new offspring by providing small, conspicuous plantlets. Springtime, when most houseplants are actively growing, is an excellent time to start new plants.

There are a variety of ways to propagate, but four methods in particular are used to reproduce most indoor plants.

CUTTINGS

The most popular means of creating new plants is to take cuttings and encourage them to form roots. Two types of cuttings exist — stem cuttings and leaf cuttings. To produce a stem cutting, remove a plant stem which has at least two or three leaf nodes (the point where the leaf attaches to the stem). Strip off the lower leaves and place the cutting in a rooting medium such as water, perlite, vermiculite or sphagnum moss. In a month or so it will root, creating a whole new plant.

Many plants can be rooted by stem cuttings, including anthurium, arrowhead vine, begonia, coleus, dieffenbachia, geranium, goldfish plant, hoya, iresine, lipstick plant, philodendron, polka-dot plant, pothos, prayer plant, purple velvet plant, succulents, Swedish ivy and wandering Jew. Leaf cuttings are done in a similar manner, using a leaf cutting instead of a stem. Two plants commonly rooted in this manner are African violet and sansevieria.

AIR LAYERING

Air layering is best suited for tall, lanky, single-stemmed plants, such as dracaena, ficus and split-leaf philodendron (Monstera deliciosa). It is a productive way to prune plants that have become too tall. The procedure is a simple one. You partially cut the stem and encourage root formation at that point by covering the cut with moistened sphagnum moss sealed with plastic wrap. Once roots form, remove the rooted portion and plant.

DIVIDING ROOTS

Some plants can be easily propagated by dividing their roots. This is usually done with plants that grow in clumps or form multiple growing centers. Each clump, also known as a crown, is divided into two or more sections and each section is replanted, making a whole new plant. African violet, asparagus fern, cast-iron plant, wax begonia, Chinese evergreen, most ferns, many palms, piggyback plant and spathiphyllum can be propagated in this manner.

USING THE PLANTLET

Other plants create a ready-made plantlet (runner) that appears as an appendage of a mother plant. Most of these tiny plants have aerial roots that grow at the end of long shoots. The easiest way to root runners is to place the base of the plantlet into a container filled with moist perlite or vermiculite and secure with a hairpin. Keep the cutting and planting medium moist by covering with plastic. Detach plantlet from the mother plant when roots have formed. Spider plant, strawberry begonia/geranium (Saxifraga stolonifera) and mother fern (Asplenium bulbiferum) are three plants propagated this way.

PROPAGATION TIPS

  • Avoid damage to stems by first boring a hole in the rooting medium with a pencil.
  • Always use clean tools. Sterilize tools with a one-part bleach to 9- parts water solution before doing any cutting.
  • Don’t touch the surface of cuts as this will spread bacteria and may cause the cutting to decay before it has a chance to take root.
  • Make smooth cuts; rough ones are subject to rotting.
  • Increase your success rate by using a rooting hormone.
  • Allow cuttings of succulents and cacti to dry and callous over for at least 24 hours before inserting in a rooting medium.

Staking

Give Your Houseplants a Little Lift

At some point we all need support. And some of us need more than others. The same goes with houseplants. While some indoor plants have strong stems and readily grow without any staking or a trellis on which to cling, others need quite a bit of support to grow well and look their best.

Reasons to stake your houseplants

There are several reasons to support a plant. Staking helps unsteady plants and those with floppy flower heads stand up straight. Strategically placed supports can also train plants to grow in a particular direction.

How much support a plant requires depends on its growth habit. In their native environment, some plants naturally grow on trees and other woody plants.Staking can help such plants thrive.

Plants that require staking

Plants that benefit from some type of support fall into three categories. First, there are plants with flowers that look best when displayed upright, such as orchids. Insert a stake in the soil near the plant base and secure with green garden tape, which stretches as the plant grows.

The second category of plants that benefit from staking is the ramblers, trailers and climbers. Although many of these plants don’t necessarily need support, with a little direction and something to grow on, they can be trained to grow wherever you desire. These plants usually grow best on some sort of a trellis. Plants in this group include arrowhead vine, hoya, pothos, wandering Jew and ivy.

The third group of plants have aerial roots and grow best when allowed to fasten and climb onto a continuously moist, moss-covered pole. Two common plant types that fall into this category include the Swiss-cheese plant and various philodendrons.

Staking with moss-covered poles

You can find a moss-covered pole in the nursery, or make your own. To do so, create a narrow tube out of hardware cloth and fill with moistened sphagnum moss. (Always use gloves when handling wet sphagnum, as it harbors a fungus that can be harmful). You can also attach moss to a plastic pole with fine wire, such as 24-gauge copper wire or fishing line. Keep the moss moist by spraying on a regular basis.

Wide variety of stakes and trellises

Stakes and trellises come in a wide variety of styles, sizes, colors and materials. You’ll find everything from single stakes to heart-shaped trellises in bamboo, rattan, wood, metal, wire and plastic. Locate supports at nurseries and home supply stores, or make your own from disease-free twigs and branches from the garden.

Creating your own stakes and supports

To create your own supports, collect branches during deciduous prunings in January and February. New cuttings are moist and pliable and can be fashioned into just about any shape you want and tied. They will keep their new shape when they dry. Some good plant prunings to use include plum tree branches and wisteria and grape vines.

When selecting or creating a plant support, consider the size and style of your container. Metal supports are heaviest and can topple some pots. Bamboo and wood tend to be the most lightweight.

Installing stakes and supports

Although it’s best to install stakes and trellises before planting, that’s not always possible. Minimize root damage by inserting supports with care and placing them as deep as possible. Immediately wind the plant around the support and secure with green garden tape. Tie in two to three spots, so the plant isn’t vulnerable to breaking in any particular area.