How to Grow Garlic Indoors for Newbies
Guest blog post by Ann Sanders, founder and editor of A Green Hand.
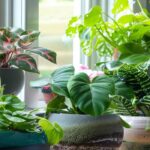
Growing garlic indoors is a rewarding way to ensure a fresh supply of this flavorful bulb year-round. Whether you’re a beginner or an experienced gardener, follow these simple steps to successfully plant, cultivate, and harvest garlic in your indoor kitchen garden.
What You Need
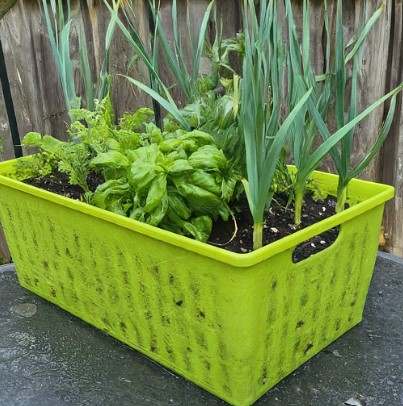
1. Container with Drainage Holes
Choose a pot that is at least 8 inches (20 centimeters) deep and wide. The more cloves you plant, the larger the container should be. Ensure there’s enough space for planting each clove 2 to 3 inches (5 to 8 centimeters) apart.
2. Garlic Bulbs
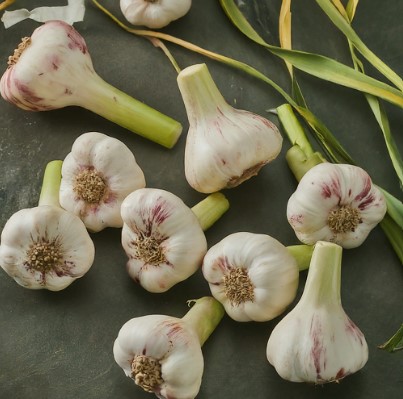
Select garlic bulbs from a nursery or retailer that sells organically grown garlic. Avoid supermarket garlic, as it’s often chemically treated and may not sprout. Look for bulbs with green sprouts, which indicate they will grow in your indoor garden. Choose large bulbs with many cloves, and pick out the biggest cloves for planting, as these will produce the largest garlic bulbs.
3. Soil Mix
Garlic thrives in a soil mix that retains moisture but also drains well. Combine three parts organic potting soil with one part horticultural sand, and mix well to achieve the ideal consistency.
What to Do
1. Fill Your Container with Soil
Moisten the soil mix until it’s damp, then pour it into the container. Spread the soil evenly, leaving it loose, and fill the container to within 1 inch of the top.
2. Plant the Cloves
Insert each clove into the soil with the pointed end facing up, leaving the tip exposed. Space the cloves 3 to 4 inches apart.
3. Place the Container in Bright Light
Garlic needs at least 8 hours of bright light daily. Place the container in an unobstructed eastern or southern-facing window, or use full-spectrum lighting if natural light is insufficient.
4. Water Regularly
Maintain even moisture in the soil, avoiding sogginess. The warmer your house, the more water the garlic will require. Ensure that excess water drains from the pot, and avoid letting the container sit in water to prevent rot.
5. Cut the Leaves
During the first six months, if green leaves start growing, clip them off at the base. This directs energy toward bulb growth. The clipped garlic chives make a tasty addition to your dishes. After six months, as the garlic nears maturity, stop clipping the leaves.
6. Harvest Indoor Grown Garlic Bulbs
Garlic is ready to harvest after eight to ten months, once the green leaves brown and die. Pull the cloves out of the soil and brush off any clinging dirt. Cure the harvested cloves by placing them in a dry, well-ventilated area until completely dry. Once cured, separate the bulb into cloves and start using your homegrown garlic.